Receipts (PSP mode)
The Receipts page records the inbound transfer of investigational product (IP) from the Central Depot to a Warehouse. Each receipt represents a physical shipment that has arrived at the destination warehouse and needs to be confirmed in CDS to update inventory.
Navigate: IMP → Transfer → Receipts
- The study status must be Available.
- IP Codes must be in Released status before they can be included in a receipt.
- The Receipts menu is shown only when Is the Supply Chain function enabled? is set to Yes and Manage Warehouse is on in IMP setup. Without the Supply Chain function, delivery requests are sent from the Central Depot and this step does not exist.
This screen is the same regardless of the study's Tracking method — only the label of the first column in Step 2 changes (Product / LOT Number / Serial Number).
Receipts list
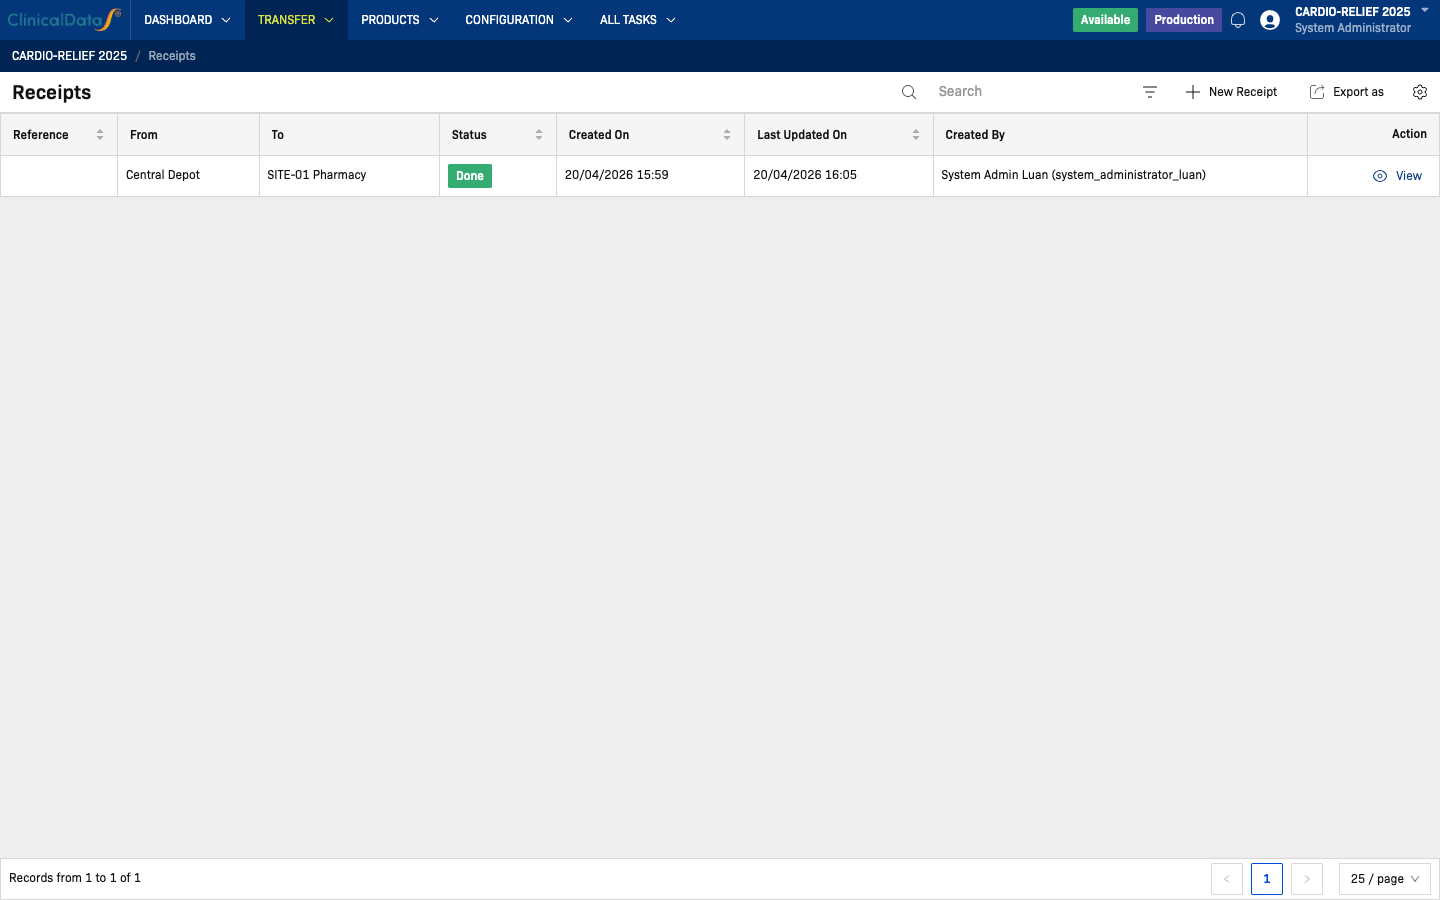
The list shows all receipts for the study with the following columns:
| Column | Description |
|---|---|
| Reference | System-generated receipt reference number (sortable) |
| From | Source location — always Central Depot |
| To | Destination warehouse |
| Status | Receipt status (sortable) — Draft, Done, or Rejected |
| Created On | Date the receipt record was created (sortable) |
| Last Updated On | Date of the most recent update (sortable) |
| Created By | User who created the receipt |
| Action | Available actions for this record |
Use the Search box to filter receipts by reference or warehouse name. Click the export icon in the toolbar to download the list.
Create a new receipt
Click New Receipt to open the 3-step creation wizard.
Step 1 — Receipt Information
Fill in the receipt details:
| Field | Required | Description |
|---|---|---|
| Reference | No | Optional reference number (e.g., from the shipment documentation) |
| Desired date of delivery | No | Expected or actual arrival date. Click Now to use the current date/time |
| From | Yes | Pre-filled as Central Depot — cannot be changed |
| To | Yes | Select the destination warehouse from the dropdown |
| Note | No | Optional free-text notes about the shipment |
| Invoice(s) | No | Upload supporting documents (e.g., delivery note, invoice) |
In the Choose products table, add one row per product:
| Column | Required | Description |
|---|---|---|
| Product | Yes | Select the product from the dropdown |
| Unit | Yes | Unit of measure — populated automatically after selecting a product |
| Demand | Yes | Target quantity received for this product |
Click + More product to add additional product rows. A PSP receipt can carry any number of products; there is no fixed limit tied to the study configuration.
Click Save to advance to Step 2.
Step 2 — Detailed Operation: record what was received per product
Every product on the receipt appears as a row in a single table. Click Add product to add a product that was not included at Step 1.
The label of the first column depends on the study's configured Tracking method:
| Tracking method | Column label |
|---|---|
| No tracking | Product |
| By Lots | LOT Number |
| By Unique Serial Number | Serial Number |

What this should show: the Detailed Operation table for a PSP-mode receipt, with the "Add product" button, at least one expanded product row showing its lot or serial breakdown, and the Quantity column showing the "received / demand" counter on the product row.
For each product row, the Quantity column shows [received / demand] (for No tracking it shows the demand quantity directly, since there is no unit-level breakdown to count). The Expiration date column is shown only when the study tracks expiration dates, and is populated on the individual lot/serial rows, not on the product row.
Recording what was received depends on the Tracking method:
- By Lots — click New LOT number on the product row. Select an existing lot number (autocomplete) or enter a new one; the expiration date is filled in automatically when an existing lot is selected. Enter the Quantity received for that lot. Repeat for each lot included in the shipment — the product row expands to list every lot added.
- By Unique Serial Number — click Assign Serial numbers on the product row. Enter the first serial number and the number of units; the system generates a sequential range starting from that value (matching its numeric suffix and padding) and adds one row per generated serial number. Enter an expiration date if the study tracks it.
- No tracking — no row action is available. The product's demand quantity set at Step 1 is what carries into validation; there is nothing further to record at this step.
Click Edit on a product row to change its Demand quantity. Product and unit cannot be changed from this screen — remove the product and add it again to change either.
New LOT number appears only for products tracked By Lots. Assign Serial numbers appears only for products tracked By Unique Serial Number. Editing an individual lot row opens the lot-entry form; editing an individual serial-number row opens the serial-entry form — the two are not interchangeable.
When all products have the required quantity recorded, click Validate (top right) to advance to Step 3. A confirmation dialog opens with the following fields:
| Field | Required | Description |
|---|---|---|
| Date | Yes | The date the receipt is approved |
| Note | No | Optional remarks about the approval |
Enter your username and password to confirm the action.
Click Reject to discard the receipt. The same dialog (Date, Note, username and password) is used to confirm a rejection.
Who can Validate or Reject
| Action | Roles |
|---|---|
| Validate | Study Administrator, Study Sponsor, System Administrator, Unblinded Supply Manager, Unblinded Pharmacist, Sponsor Supply Manager, Warehouse Manager |
| Reject | Study Administrator, Study Sponsor, System Administrator, Unblinded Supply Manager, Sponsor Supply Manager, Warehouse Manager (Unblinded Pharmacist does not have Reject access) |
See the full Permission Matrix for how these roles apply across the platform.
Step 3 — Validated
After validation the system shows a read-only summary of the completed receipt, including a Validate Receipt Information panel with the approval Date, the Create by field (the user who validated the receipt — this label is a known product-copy inconsistency; it identifies the approver, not the record's original creator), and any Note entered during validation. The Detailed Operation table lists every product on the receipt, with its lot or serial breakdown, quantity, and expiration date.
The receipt status is set to Done and the system:
- Updates the received quantity into the destination warehouse's inventory for each product
- For By Lots and By Unique Serial Number, creates the individual lot/serial records that were entered at Step 2
- Records the inventory movement into the destination warehouse
- Creates a read-only receipt record with a system-generated reference
Completed receipts
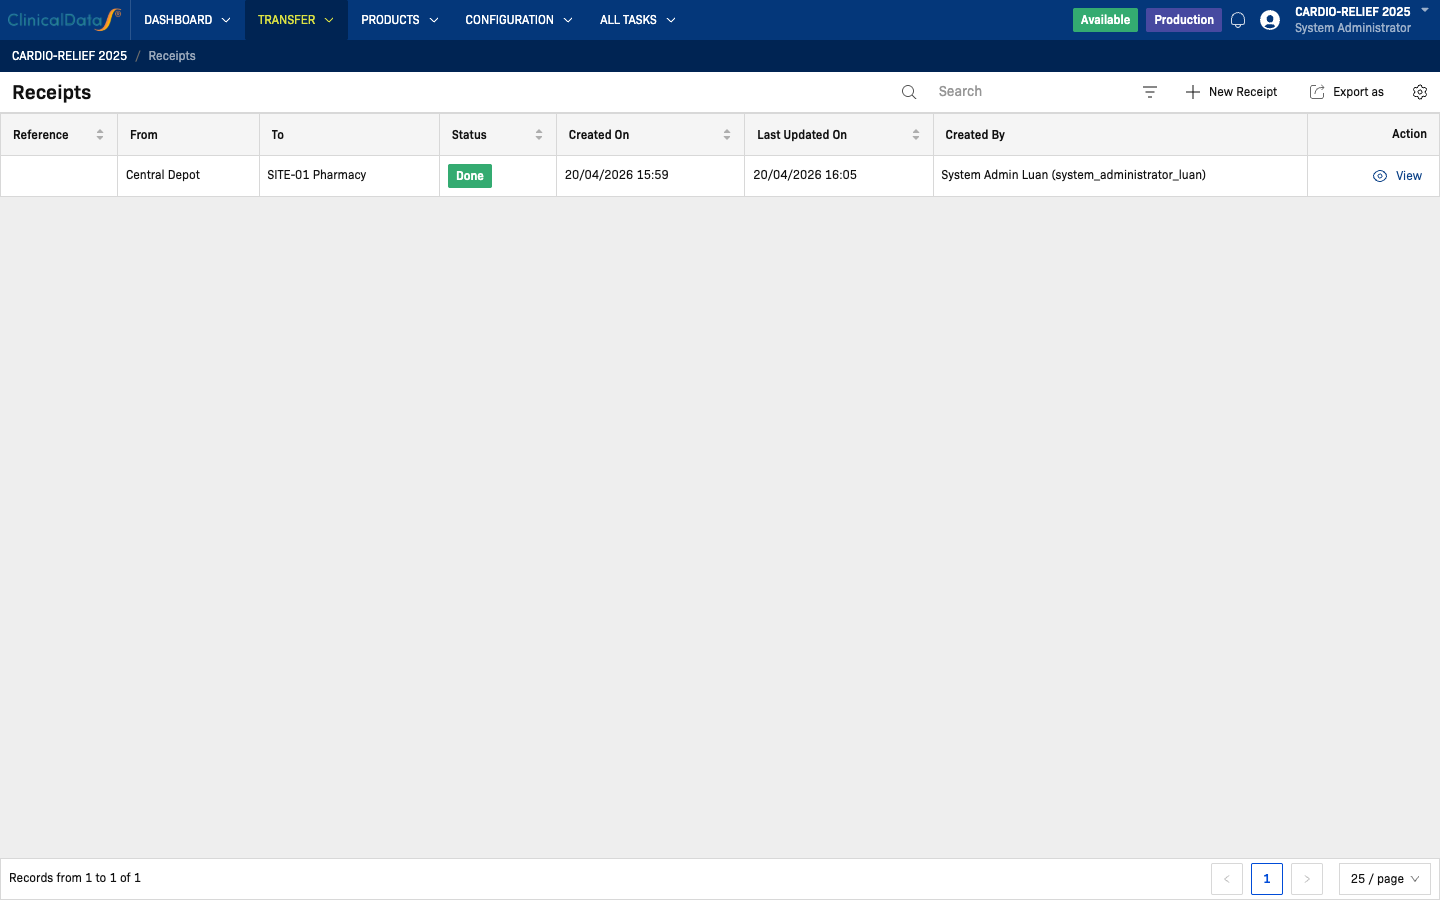
Validated receipts appear in the list with a Done status badge. Click View to open the read-only receipt record at any time.
Once a receipt is validated it cannot be edited or deleted. If a receipt was created in error, contact your study administrator.
Related Docs
Studies using Randomization mode instead: For Randomization Study — Receipts