The Pre-Screening and eConsent app manages the full journey from adding a new participant through collecting their electronic informed consent (e-Consent) and enrolling them into the study.
This guide walks through each step of that workflow with screenshots from the live interface.
Prerequisites
Before starting, ensure the following are in place:
| Requirement | Where to check |
|---|---|
| Study status is Available | Study home → status badge in the top bar |
| At least one eConsent form is Published | Pre-Screening and eConsent → e-Consent Setup → Consent Forms table |
| You have a role with Screening write permissions | System Settings → Roles & Permissions |
eConsent forms in Draft status do not appear in the invitation dialog. Publish the form before inviting participants.
Step 1 — Add a Screening Participant
- Navigate to your study and open Screening from the top navigation.
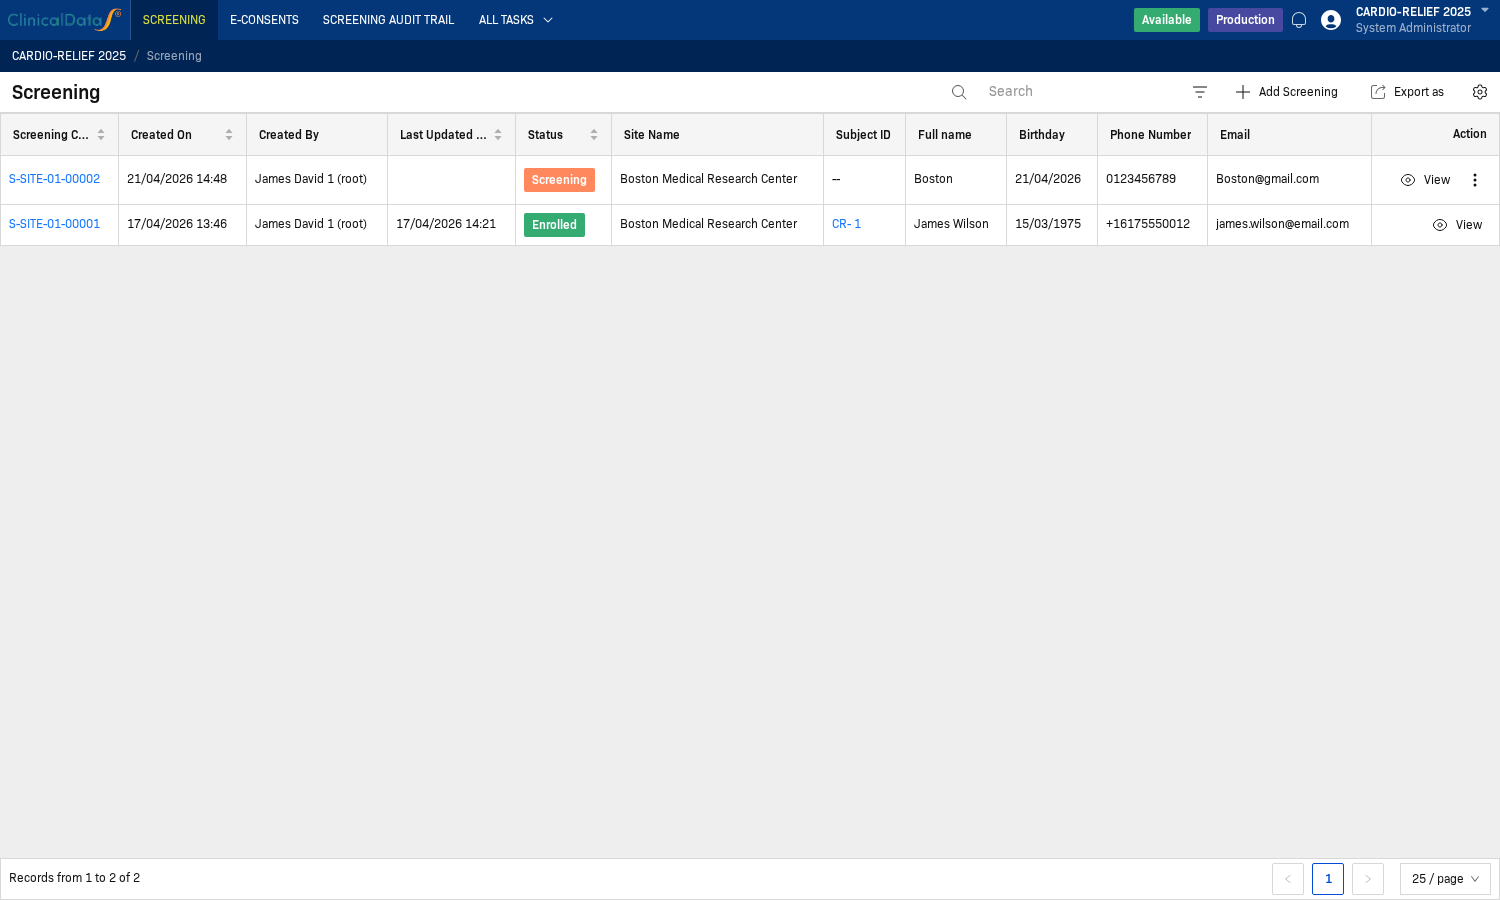
- Click + Add Screening in the top-right of the participant list.
-
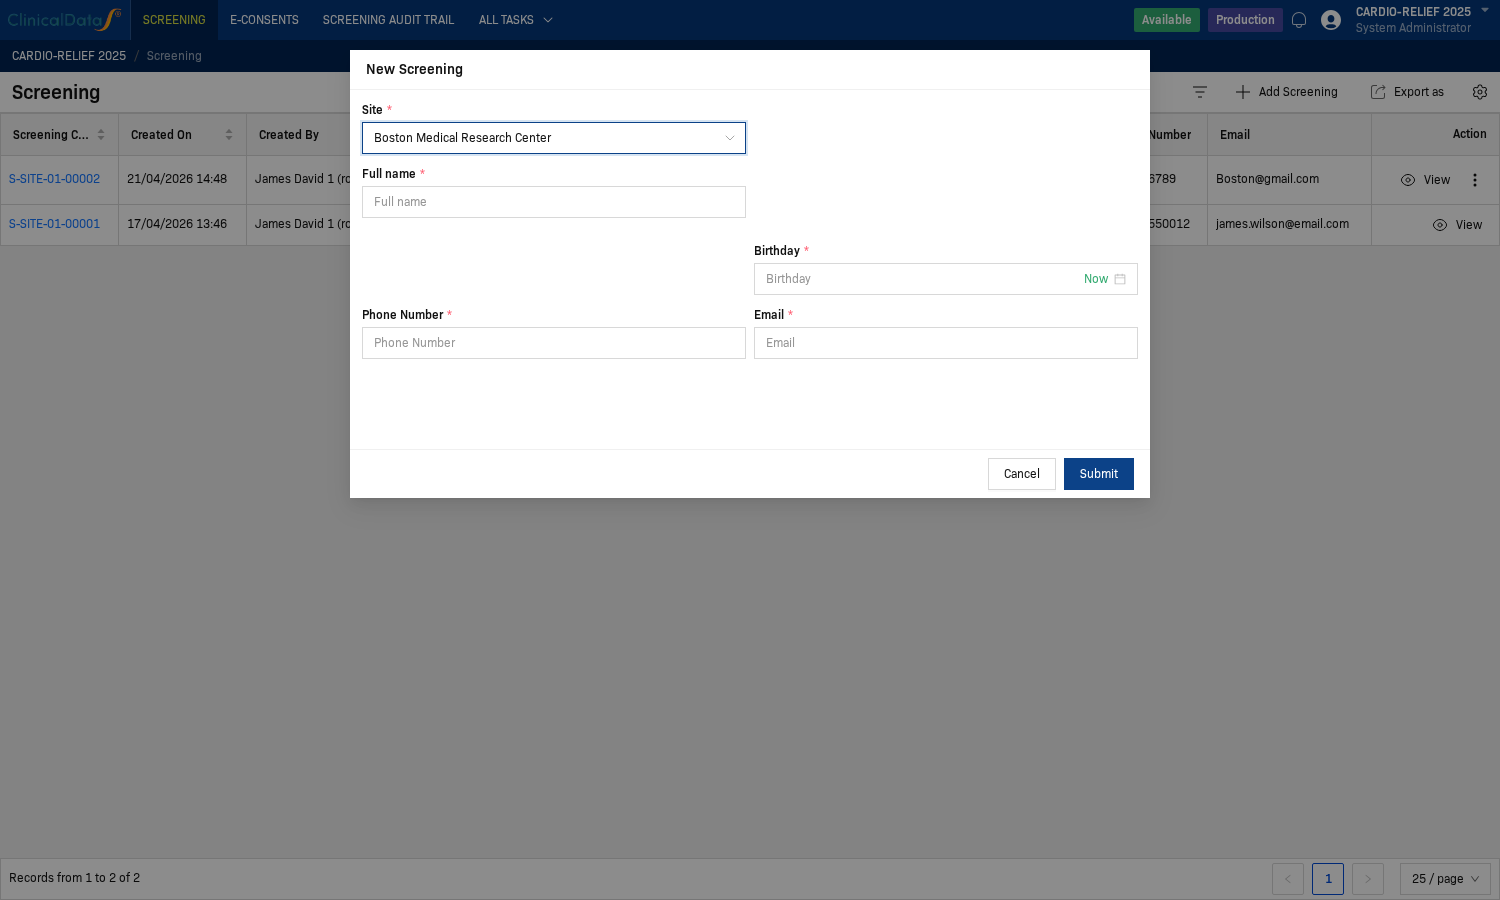
The New Screening dialog opens. Fill in the participant's details:
Field Notes Site Select the site where the participant will be enrolled Full name Participant's legal name Birthday Select the date (format: DD/MM/YYYY) Phone Number Include country code (e.g., +1 617 555 0012) Email Used to send the eConsent invitation -
Click Submit. The participant is created with a status of Screening and a Screening Code is automatically assigned.
Step 2 — Send an eConsent Invitation
-
Open the participant record by clicking the row or clicking View in the Action column.
-
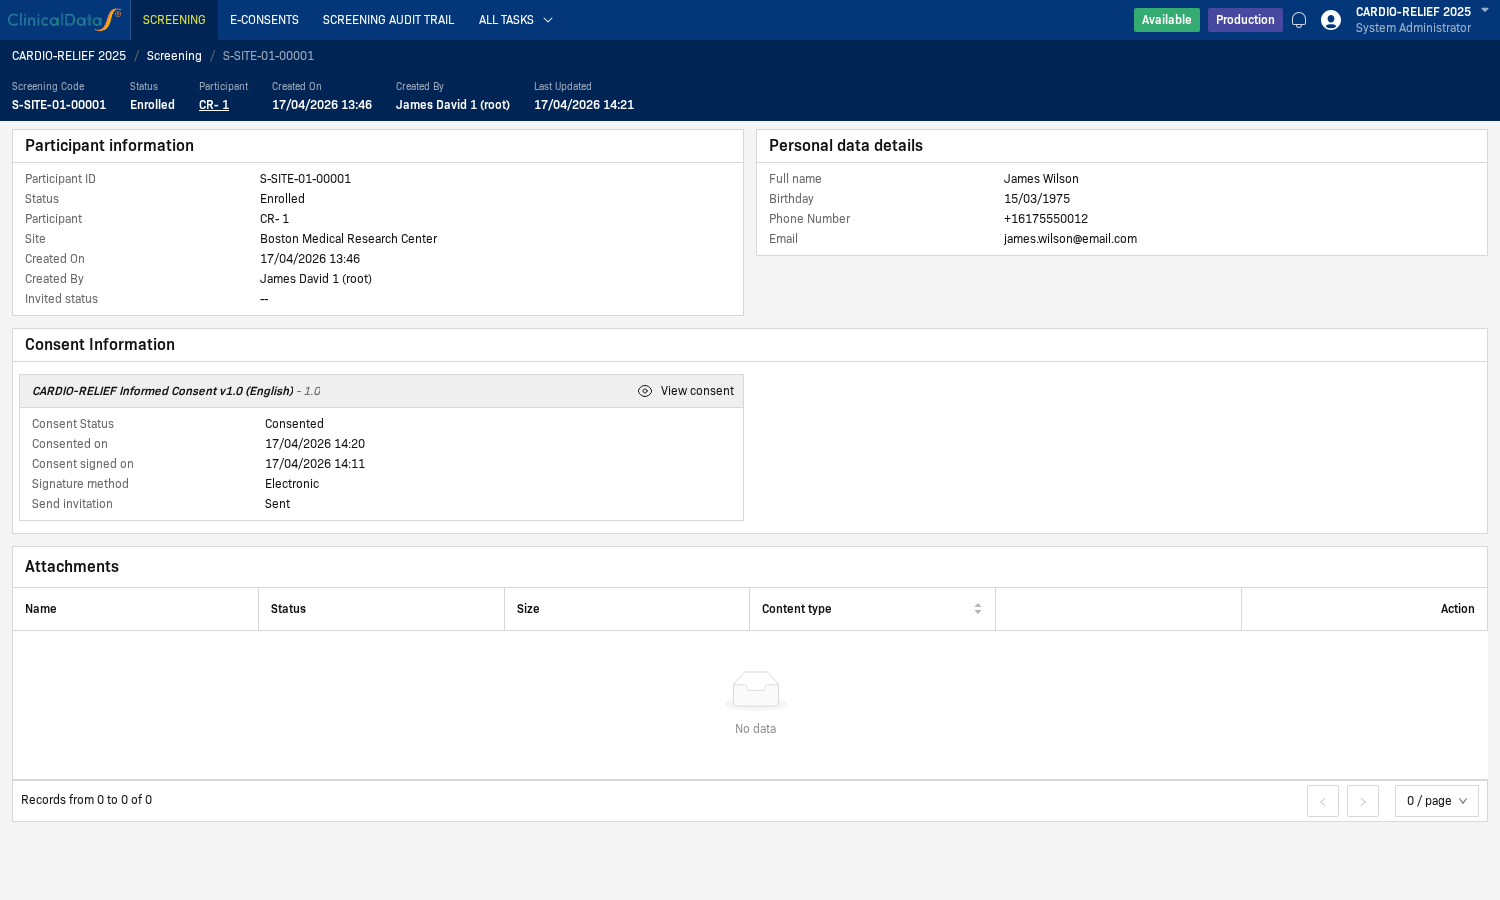
Scroll down to the Consent Information section.
-
Click Invite to open the invitation dialog.
-
In the invitation dialog:
- Document — select the Published consent form (e.g., CARDIO-RELIEF Informed Consent v1.0 (English)).
- Send invitation — set to Yes to dispatch the invitation email immediately.
tipThe Send invitation toggle is disabled until a document is selected. Select the document first.
-
Click Send. The Send invitation field updates to Sent and the Consent Status becomes Invited.
Step 3 — Sign the Consent Form
The participant (or an authorized staff member on their behalf) signs the consent form. Staff can access the form directly from the participant record.
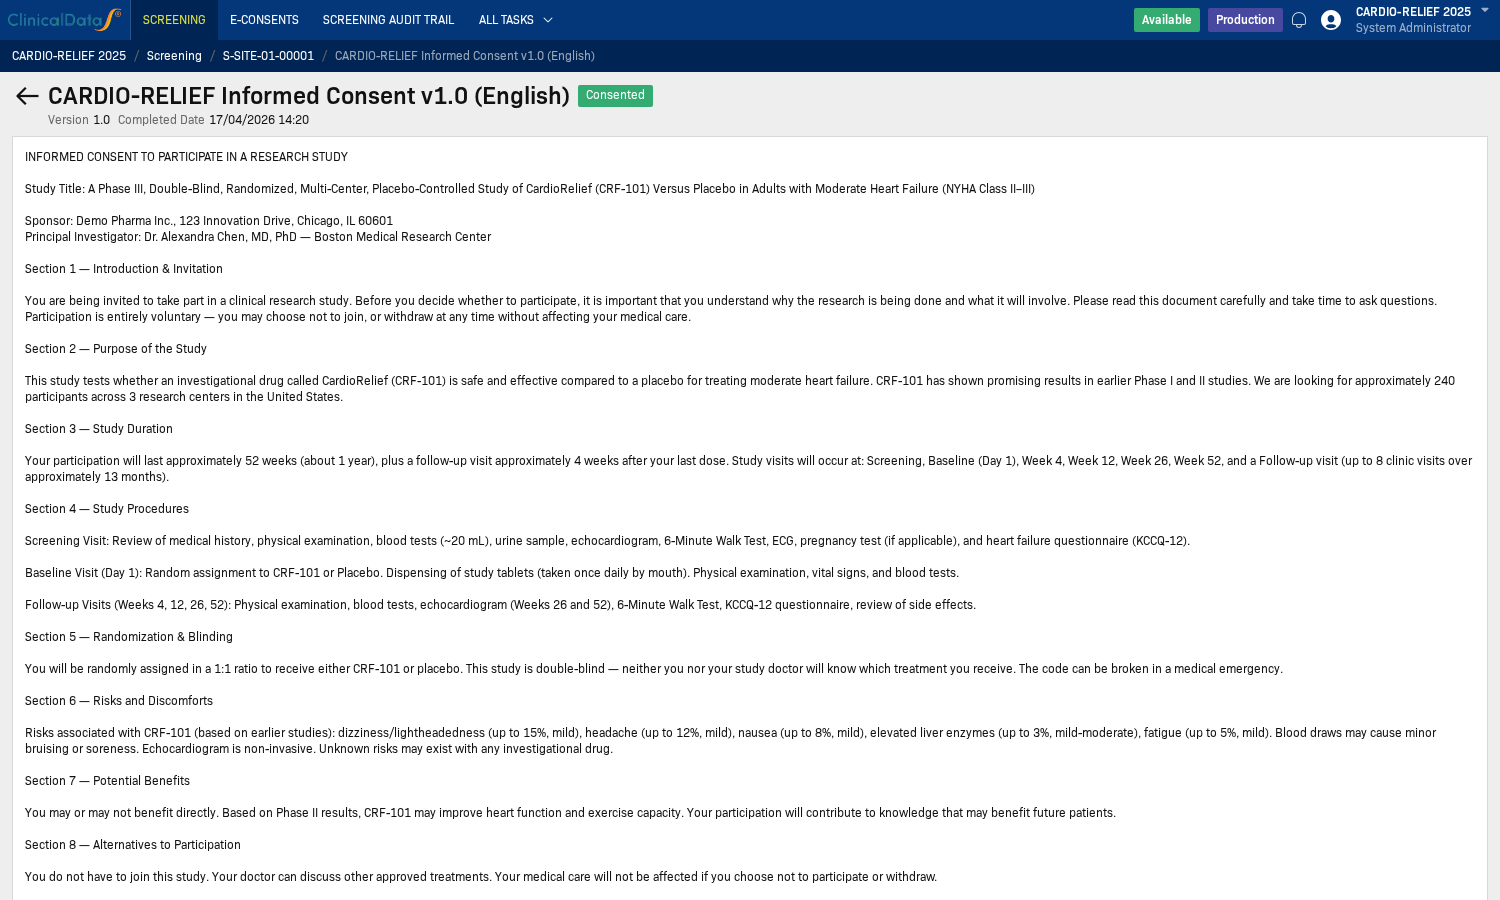
- In the participant record, click View consent next to the consent form.
- The consent form opens showing the full ICF text. Scroll to the Subject Signature section at the bottom.
-
Fill in the three required fields:
Field Notes Date Select the date the consent is being signed Full Name Participant's full legal name Signature Draw the signature in the canvas area using mouse or touch input
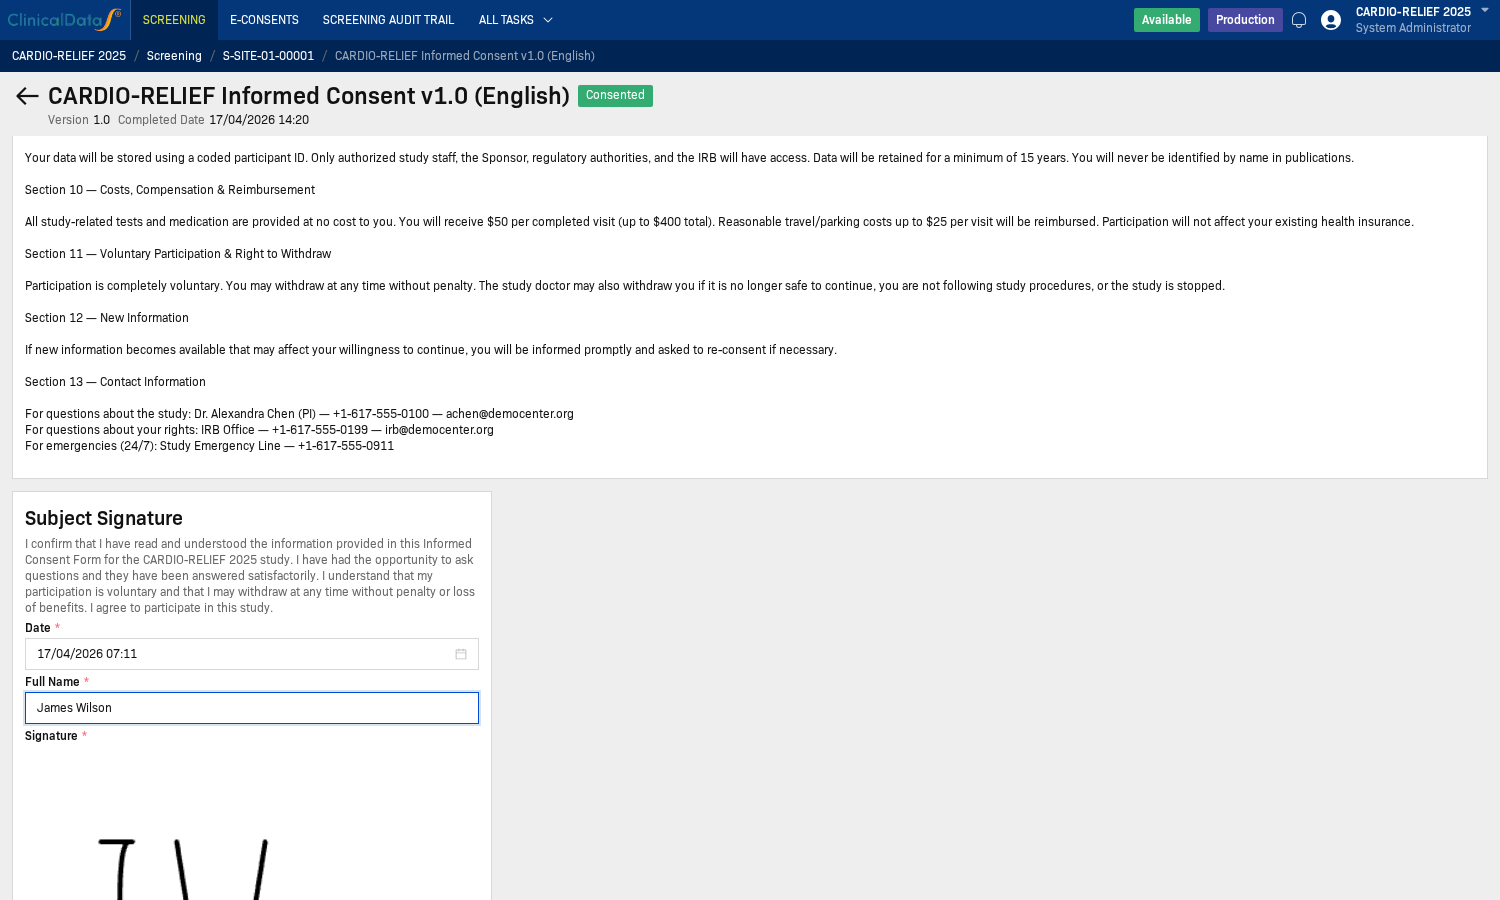
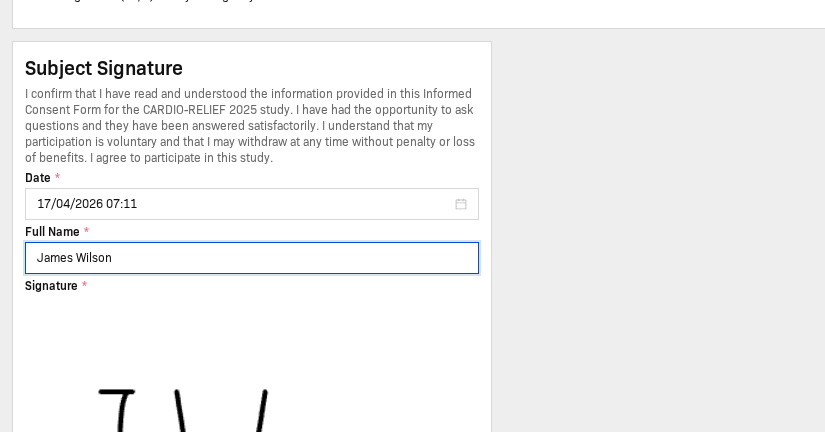
- Once all three fields are completed, the form is submitted automatically. No separate Submit button is needed — the system records the signature on completion.
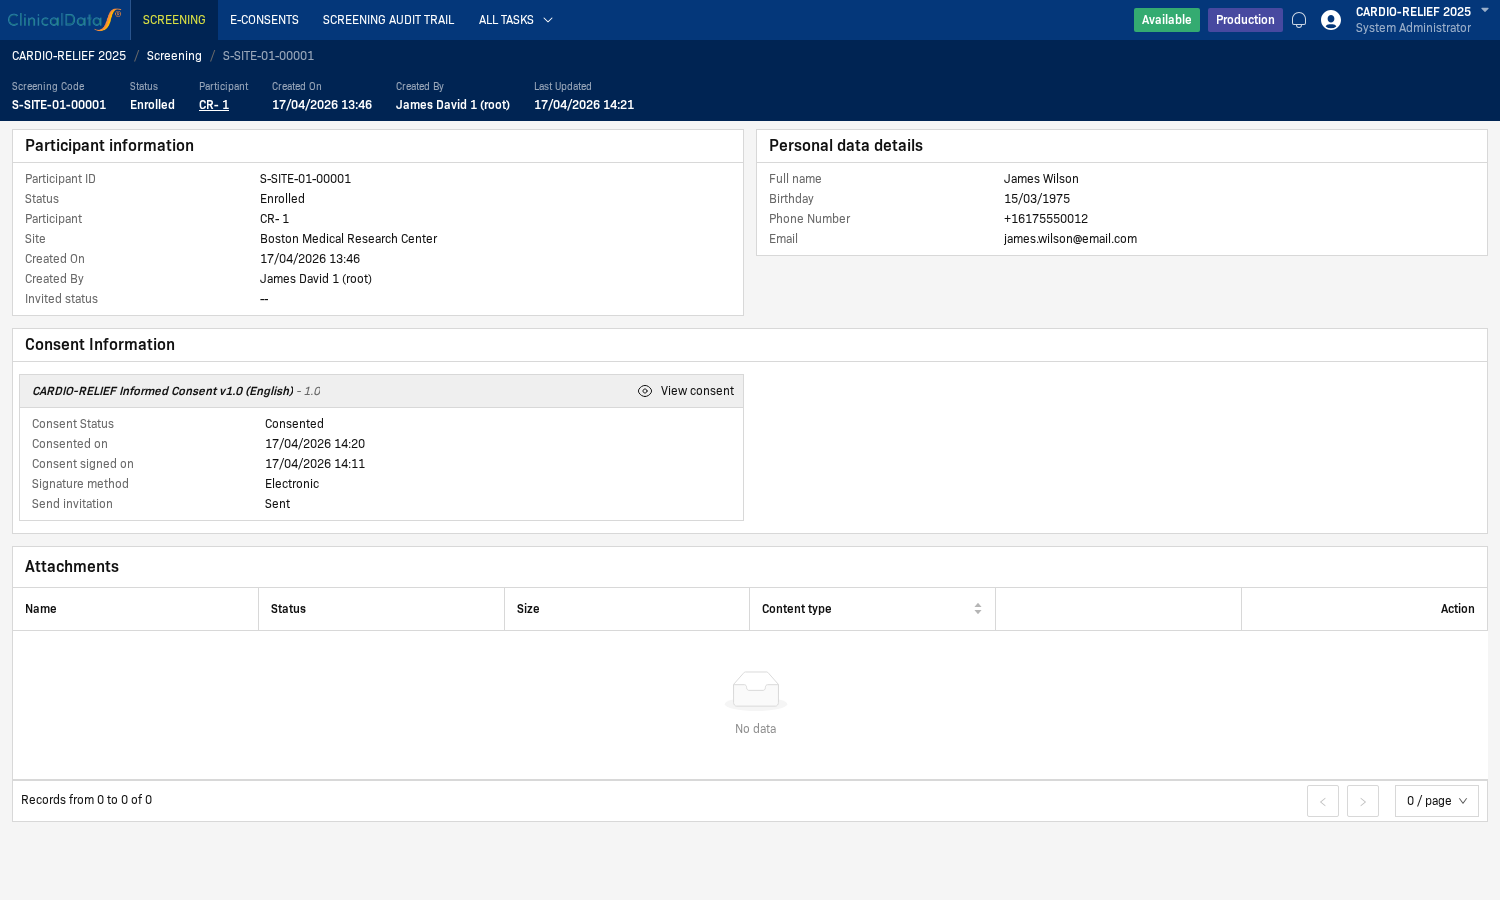
After signing, the Consent Information section in the participant record updates to:
| Field | Value |
|---|---|
| Consent Status | Consented |
| Consented on | Timestamp when the form was submitted |
| Consent signed on | The date entered in the Signature section |
| Signature method | Electronic |
| Send invitation | Sent |
Step 4 — Enroll the Participant
After the consent is signed, the participant can be enrolled in the study.
- Return to the participant record (use the breadcrumb: Screening / [Participant ID]).
- Click Enroll in the top action bar.
- In the Add Subject dialog:
- Site — pre-filled from the screening record (read-only).
- Treatment Arm — select the appropriate arm from the dropdown (e.g., CardioRelief CRF-101 or Placebo).
- Click Submit.
The participant status updates to Enrolled and a Participant ID is assigned (e.g., CR-1). The top bar of the record shows the Screening Code, Status, Participant ID, and timestamps.
If the consent form has not been signed, the enrollment attempt will fail with the message "Screening subject is not consented". Complete Step 3 before enrolling.
Consent Status Reference
| Status | Meaning |
|---|---|
| (none) | No invitation has been sent |
| Invited | Invitation email sent; waiting for signature |
| Consented | Consent form signed and submitted |
| Withdrawn | Participant withdrew consent after signing |
Participant Status Reference
| Status | Meaning |
|---|---|
| Screening | Participant created; awaiting consent and enrollment |
| Enrolled | Participant successfully enrolled; subject ID assigned |
| Rejected | Participant was rejected during pre-screening |
| Withdrawn | Participant withdrew from the study |
Re-Consent Workflow
When a protocol amendment or updated ICF requires participants to re-consent:
Prerequisites
- New consent form version is Published in e-Consent Setup
- Previous consent form version is Archived (not deleted — retained for audit)
- Auto-invite is configured (optional) or manual invitation is planned
Step 1 — Identify Participants Needing Re-Consent
- Open Screening from the top navigation
- Filter by Consent Status: Consented
- Participants who signed the old form version need re-consent
Step 2 — Send Re-Consent Invitation
- Open the participant record
- In the Consent Information section, click Invite
- Select the new consent form version from the Document dropdown
- Set Send invitation to Yes
- Click Send
The participant's consent status updates to Invited for the new version.
Step 3 — Participant Signs New Consent
The participant follows the same signing process as the original consent:
- Open invitation email → click link to access form
- Review updated ICF content
- Fill in Date, Full Name, and Signature
- Form submits automatically on completion
Step 4 — Verify Re-Consent Status
After signing, the participant record shows:
- Consent Status: Consented
- Consented on: New timestamp
- Consent signed on: Date entered in signature section
- Previous consent: Archived with old version reference
Re-Consent Audit Trail
Both consent versions are preserved:
- Old version — status changes to
Archived, retains original signature and dates - New version — shows current
Consentedstatus with new signature and dates - Full history visible in the participant's Consent Information section
Consent Withdrawal
Participants may withdraw consent at any time during the study.
Withdrawal Process
- Open the participant record from the Screening list
- In Consent Information, click Withdraw Consent
- In the withdrawal dialog:
- Withdrawal Date — date the participant requested withdrawal
- Reason — select from configured reasons or enter free text
- Confirm — acknowledge that withdrawal stops further data collection
- Click Submit
After Withdrawal
| Aspect | Behavior |
|---|---|
| Consent Status | Changes to Withdrawn |
| Data already collected | Retained per regulatory requirements |
| New data collection | Stops — no new CRFs can be submitted |
| Re-enrollment | Not possible without new consent |
| Audit trail | Withdrawal date, reason, and user are recorded |
Withdrawal Reporting
- Withdrawn participants remain in the Screening list
- Filter by Status: Withdrawn to review all withdrawals
- Export screening list for regulatory reporting
Remote Consent
When participants cannot visit the site in person:
How It Works
- CRC/site staff creates the participant and sends the eConsent invitation
- Participant receives email with a link to the consent form
- Participant opens the form on any web browser or mobile device
- CRC can guide the participant via phone or video call while they review the ICF
- Participant signs electronically on their own device
- Signature is recorded with timestamp and device information
Best Practices for Remote Consent
- Schedule a video call to walk through the ICF with the participant
- Verify participant identity before sending the invitation
- Document that consent was obtained remotely in the participant record
- Ensure the participant has a stable internet connection during signing
Remote vs. On-Site Consent
| Aspect | On-Site | Remote |
|---|---|---|
| Device | Site tablet/computer | Participant's own device |
| Identity verification | Staff verifies in person | Video call or pre-verified email |
| Signature method | Mouse, touch, stylus | Mouse, touch, stylus |
| Staff presence | In person | Via video/phone call |
| Audit trail | Same | Same + remote flag |