Inventory Site (Randomization mode)
An inventory count session records a physical stock count at a site. The site pharmacist and other supply-chain roles count what is on the shelf, sign the count, and a second user approves it; on approval, the system adjusts site stock to match the count. Randomization-mode studies are always tracked By Unique Serial Number, so every count is a check of individual IP codes.
The Inventory at Site list shows the Draft, Submitted and Done counters and the Last Approved Date above the table, and New Inventory in the toolbar. The example below is a study with no count sessions yet.
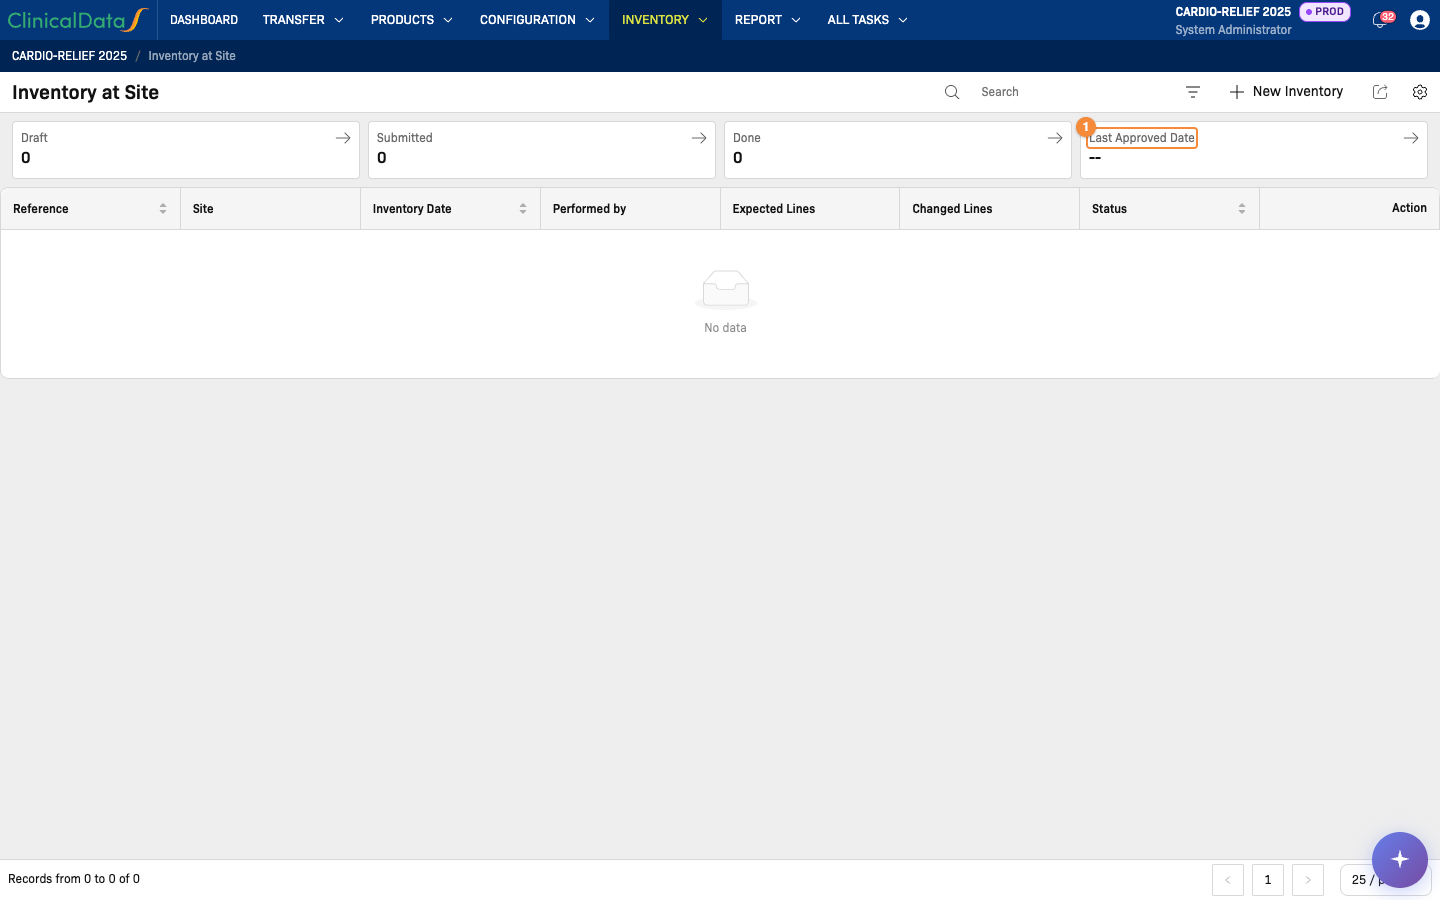
- Date of the most recently approved count
Who Can Do What
| Action | Roles |
|---|---|
| View inventory sessions and their details | Available to 9 rolesClinical Research CoordinatorSite MonitorStudy AdministratorStudy SponsorSystem AdministratorUnblinded Supply ManagerSponsor Supply ManagerWarehouse ManagerSite Pharmacist(default roles — your study may differ) |
| Create, edit and submit a session | Available to:Study AdministratorStudy SponsorSystem AdministratorSponsor Supply Manager(default roles — your study may differ) |
| Approve or reject a submitted session | Available to:Study SponsorSystem AdministratorUnblinded Supply ManagerSponsor Supply Manager(default roles — your study may differ) |
Creating a session requires the study to be Available. Sessions cannot be created or changed while the study is view-only.
Session Status
| Status | Meaning |
|---|---|
| Draft | Session created; counting is in progress and the session can still be edited |
| Submitted | Count signed and submitted; waiting for approval |
| Done | Approved; stock has been adjusted to the count |
| Rejected | Returned without any stock change; the reject reason is shown on the session |
| Cancelled | Closed without any stock change |
The banner at the top of a session shows its progress: Inventory Information → Count & Sign → Approval → Done.
Open the Inventory List
- From Study Home, open the IMP app.
- Open Inventory → Inventory at Site.
Site-level roles see sessions for their assigned sites only.
The list shows Reference, Site, Inventory Date, Performed by, Expected Lines, Changed Lines and Status for each session. Filter by site, status, performer or date range. Click View on a row to open the session.
Create an Inventory Session
- On Inventory at Site, click New Inventory.
- Under Inventory Session Information, select the Site and the Inventory Date. The Reference is generated by the system when the session is saved; enter one only if your study uses its own numbering.
- Optionally add a Note and Attachments (for example, a signed count sheet).
- Click Continue. The session is created in Draft status and opens on the count.
Only one session can be open at a site at a time. Submit, approve or reject the open session before starting a new one at the same site.
Record the Count
Counting IP codes (By Unique Serial Number)
When the session is created, the Expected List is filled with every IP code the system currently holds at the site with status Available, Expired, Damaged or Returned. For each IP code, set Presence:
| Presence | Meaning | Effect on approval |
|---|---|---|
| Present | The IP code was found and is in the expected condition | No change |
| Damaged | The IP code was found but is damaged | The IP code status changes to Damaged |
| Not Found | The IP code could not be located | The IP code status changes to Lost |
Use Search by IP Code to find an IP code in a long list, and add a Note where the finding needs an explanation.
To change the site, date, note or attachments while the session is in Draft, edit the session information at the top of the session.
Sign and Submit
When the count is complete, click Sign & Submit and re-enter your username and password. The session moves to Submitted and can no longer be edited.
Approve or Reject
A user with approval rights opens the submitted session and either:
- clicks Sign & Approve and re-enters their username and password — the session moves to Done and every changed line is applied to stock; or
- clicks Reject, enters the reject reason, and re-enters their username and password — the session moves to Rejected and stock is not changed.
If stock at the site was adjusted by another approved count after this session was counted, approval is refused and the site must be counted again in a new session.
Check Current Stock: Stock by Site Report
To check stock levels without running a count, open Report → Stock by Site in the IMP app.
| Column | Description |
|---|---|
| Site | Name of the site the row belongs to |
| Product | IMP product name |
| Unit | Unit of measure |
| Available | Quantity currently available for dispense |
| Dispensed | Quantity dispensed to Subjects |
| Returned | Quantity returned |
| Damaged | Quantity marked damaged |
| Expired | Quantity expired |
This report shows an aggregate quantity per product and site — it does not list individual serial numbers. To look up a specific IP code, use Products → IP Code.
The report can be filtered by site, product, and days until expiration, and exported to CSV where export permission is granted.
Related Docs
Studies using PSP mode instead: For PSP Study — Inventory Site